You step back from a freshly wallpapered wall, and something's off. The pattern matched perfectly at the ceiling, but halfway down the design have drifted — a flower that should sit beside its neighbor is now a half-inch low, and the rhythm of the design is broken. It's one of the most disheartening moments in any wallpaper project, and we hear about it constantly. So let's clear one thing up first: when the pattern doesn't line up, it is almost never the wallpaper's fault. We produce our designs with precise, repeatable pattern matching, and the misalignment you're seeing traces back to how the wallcovering was hung.
The good news is that means it's fixable — and almost entirely preventable. In this guide we'll walk through why patterns drift out of alignment, the one instruction that prevents the majority of these problems, and how to make sure your install (whether it's you or a pro) gets the pattern matching right the first time. It applies to both our peel and stick wallpaper and our Traditional Type II wallcovering.
Design Insight
A pattern that lines up at the top but wanders by the bottom is the classic tell. Nine times out of ten it's not a printing error — it's a crooked starting strip, a wall that isn't truly plumb, or material that got stretched on the way down. Once you know what causes the drift, keeping every panel aligned becomes genuinely straightforward.
Table of Contents
The Good News: Our Patterns Are Straight Match
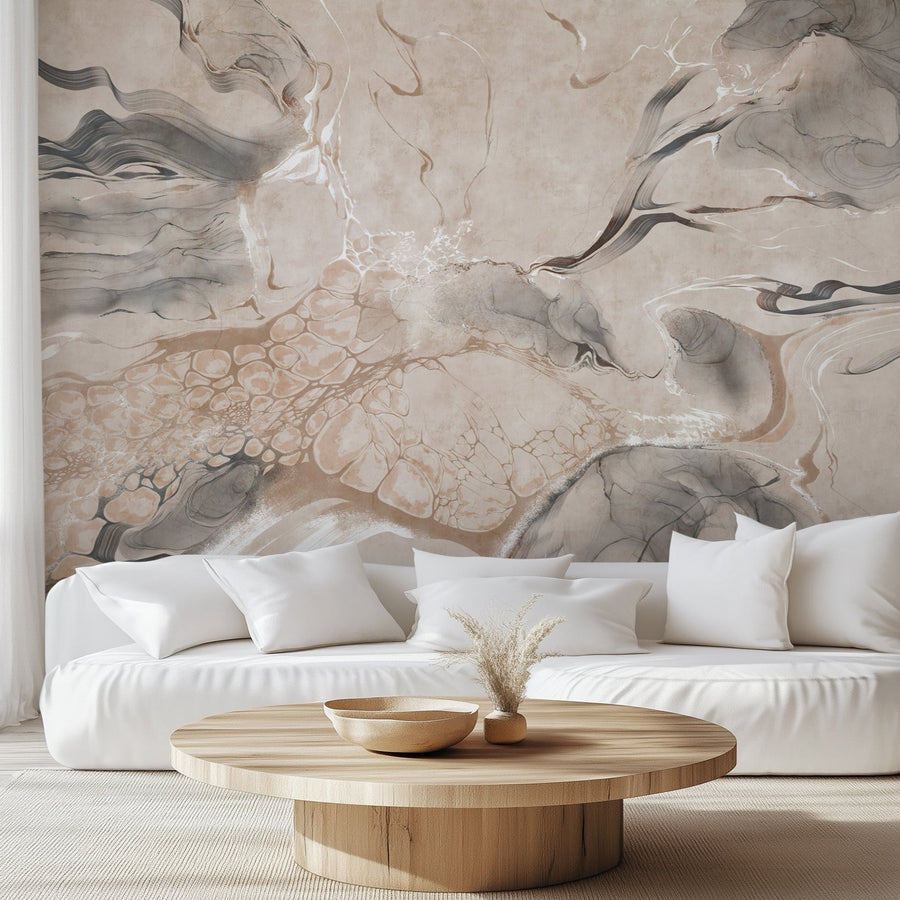
Before you hang a single strip, here's a detail that makes your life much easier: all of our repeat-pattern wallpapers are straight match. That means every strip lines up identically at the ceiling line — you don't shift the next roll up or down to make the design connect. You simply align the top of each strip at the same height, match the pattern across the seam, and the whole wall falls into rhythm.
This matters because a lot of pattern-matching anxiety comes from drop-match papers, where each strip has to be staggered vertically and the math gets fussy. We deliberately keep our repeats straight match to take that guesswork out. So if your pattern isn't connecting, it isn't because you need to drop or offset the strips — it's almost always one of the install issues below. Random and mural designs are their own case, but for any repeat pattern in our peel and stick wallpaper range, straight match is the rule.
Expert Tip
Because our patterns are straight match, lay two strips side by side on the floor, overlapping them by one inch, before you hang anything and confirm how the design connects across the edge. Once you've seen the match point once, you'll recognize it instantly on the wall — and you'll catch a misalignment after one strip instead of after the whole wall is up.
Mistake #1: Skipping the Instructions in the Box
This is the big one, and it causes more alignment problems than everything else combined. Every roll we ship includes installation instructions specific to the material you bought, and the most-skipped line on that sheet is this: overlap each panel by one inch. People — homeowners and seasoned installers alike — see "overlap," assume they know better, and butt the seams instead, because that's how they've always done it with another brand. That single substitution is what throws the pattern out of alignment over the length of a wall.
Different wallpaper suppliers engineer their material differently, so installation methods are not interchangeable between brands. The technique that worked beautifully with someone else's paper can be exactly wrong for ours. We write the instructions because we know how our specific material behaves — across our removable peel and stick, our commercial-grade Traditional Type II, and our faux grasscloth.
Expert Tip
Read the instruction sheet before the first strip goes up — not after the pattern looks wrong. We can't count how many calls start with "it isn't lining up" and end with the customer realizing the instructions were still rolled up inside the tube. Five minutes of reading saves you hours of re-hanging.
Why Peel and Stick Must Be Overlapped, Not Butted
Here's the part most people don't know: peel and stick wallpaper keeps acclimating to its environment after it's on the wall. Once applied, it continues to settle to the room's temperature and humidity, and it can retract very slightly as it does. If you butt the seams edge to edge, that tiny retraction pulls the strips apart — and now your perfectly matched design separate, leaving the pattern broken (and often a thin line of bare wall) right where two strips meet.
Overlapping by one inch is what holds the match together. Because neighboring strips share an inch of material, the pattern stays connected across the seam even as the wallpaper settles — the overlap simply absorbs the movement. This is why our instructions call for it, and it's the single biggest factor in keeping a straight-match design in perfect register for years. It matters even more on large-scale designs and wallpaper murals, where a break in the pattern is impossible to miss.
Expert Tip
Let your peel and stick rolls sit in the room where they'll be installed for 24–48 hours before you start. Letting the material acclimate to the space first reduces how much it moves after application — so the overlap has even less work to do, and your seams stay tighter from day one.
Traditional Wallcovering: Overlap, Then Double-Cut
Our Traditional Type II wallcovering installs with paste, and here the goal is a flush, perfectly matched butt seam — but you still get there through an overlap, not by butting strips from the start. Most professional installers overlap the two strips by an inch, aligning the pattern across the overlap, then use the double-cut technique: with a straightedge and a sharp blade, they cut through both layers at once down the center of the overlap. Peel away the two waste strips, smooth the edges back down, and the panels meet in a seam so tight, and so well-matched, it nearly disappears.
The double-cut works because you're cutting both strips against each other in a single pass, so the two new edges are a perfect mirror match — and because you aligned the pattern before cutting, the design stays in register. It's the industry standard for thicker, commercial-grade material, including our faux grasscloth wallpaper, which is also Type II.
Expert Tip
When you double-cut, slip a strip of scrap material behind the seam so your blade doesn't score the drywall — a cut into the wall surface can cause the paper to lift along that line later. And snap to a fresh blade for every seam; a dull blade drags and tears the paper instead of giving you the clean, matched edge you're after.
Mistake #2: Leaving It All to Your Installer
Hiring a professional is a great choice — but it doesn't mean handing over the rolls and walking away. The most frustrating alignment failures we hear about happen when a homeowner assumes "the pro knows best," and the installer defaults to their usual method from another brand instead of reading ours. A skilled installer who's hung thousands of rolls can still get the match wrong if they've never checked installations instructions.
So whether you bought from us or anyone else, familiarize yourself with the installation instructions before work begins, study the pattern match, and make sure your installer has read the guide and agrees to follow it. We strongly recommend being present on install day, at least for the first wall — it's the simplest way to catch a misalignment before it becomes a whole room. You're not second-guessing their skill; you're giving them the brand-specific detail that lets that skill shine.
Expert Tip
Ask your installer one direct question before they start: "Have you read the instructions for this specific wallpaper, and will you overlap the seams by one inch as specified?" A confident yes means you're in good hands. A breezy "I always do it my way" is your cue to slow down and walk through the guide together.
Your Pattern-Matching Checklist
Run through this before the first roll goes up, and a drifting pattern stops being a worry:
- Read the instructions first — they're specific to the material you bought, not generic to all wallpaper.
- Remember it's straight match — align each strip at the same height at the ceiling; no shifting up or down.
- Start plumb — mark a level vertical line for your first strip. If it starts crooked, every strip after it drifts, and the pattern won't match by the bottom.
- Overlap by one inch — every time, on both peel and stick and traditional, to hold the match through acclimation.
- Don't stretch to match — smooth out whole panels from the middle; stretched edges snap back and pull the pattern off.
- Double-cut traditional type II — align the pattern, cut through both layers, remove the waste. Never on peel and stick.
- Brief your installer and be there — confirm they've read the instructions, and stay for the first wall.
Follow these and the design will flow across the wall exactly as we produced it — one continuous, unbroken pattern, whether you chose a bold mural or an all-over repeat.