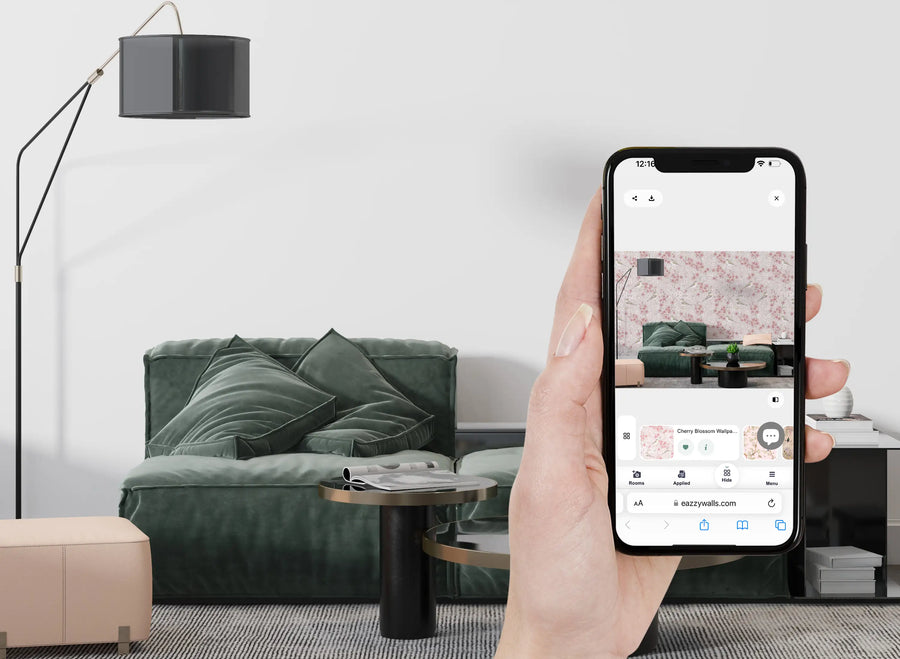
Installing commercial-grade Traditional Type II wallcovering? This step-by-step guide walks you through wall preparation, adhesive booking, panel hanging, and trimming for a professional, long-lasting finish. Please read it fully before you begin.
Traditional Type II is a paste-the-back, commercial-grade wallcovering built for durability in high-traffic residential and commercial spaces. Unlike our peel and stick wallpaper, Type II is applied with a heavy-duty adhesive and is designed to be a permanent, hard-wearing installation. If you ordered peel and stick instead, follow our Peel and Stick Wallpaper Installation Guide.
Before you begin: Please take a moment to read through this guide to ensure a successful installation of your chosen wallpaper. Understanding the process is key. If you are unsure of any step, reach out to our customer service team and we will be more than happy to help you. We recommend hiring a professional installer for commercial-grade wallcovering.
Tools You Might Need
- Heavy-duty wallcovering adhesive, such as Roman ECO-888
- Paper knife (or a fresh-blade X-Acto knife)
- Tape measure
- Microfiber cloth
- Plumb line or level
- Lead pencil
- Plastic squeegee smoother with a felt edge, or a straight edge wrapped in a soft cloth for smoothing
- Bristle brush or roller (for applying adhesive)
- Clean warm water and a natural sponge (not man-made/polyester)
Wall Preparation
Proper surface preparation is the single most important factor in getting great results. Take your time with this stage.
- Clean the wall thoroughly. For the best adhesion, the wall must be free of all lint, oils, and debris. Remove nails and screws and fill any cracks. Switch off the electrical breakers and remove socket and switch covers. Allow the cleaned wall to dry for 24 hours before application.
- How to clean: Scrub with a general all-purpose cleaner, wash with 70% isopropyl alcohol, then do a final scrub with a lint-free microfiber cloth. Make sure any all-purpose cleaner is fully washed off and the wall is completely dry.
- Prime glossy or difficult surfaces. Glossy surfaces should be sanded to dull them and the dust removed with a dry cloth. Alternatively, apply a professional heavy-duty latex primer with mold and mildew inhibitors, such as Roman ECO-988, 72 hours prior to installation.
- Mark straight guide lines. For a successful hanging job it is essential that your wallcovering hangs straight. Using a level and tape measure, lightly mark horizontal and vertical lines to line up the first panel. If the mural is smaller than the total wall space, mark out the dimensions lightly to create a straight center line and confirm the area is level. Use only a lead pencil - never a ballpoint or marker, which will bleed through the surface.
- Control the temperature. Do not install unless a temperature above 65°F is maintained in both the installation and storage areas for at least 48 hours prior to installation.
- Lay out your panels. Arrange the rolls in front of the wall in the proper hanging order. All wallpaper and wall mural products of more than one panel/roll are numbered in order on the bottom left corner. These labels should be trimmed off after installing.
Applying the Adhesive (Booking)
EazzyWalls traditional wallcovering should be installed with a heavy-duty adhesive, such as Roman ECO-888.
- Do not dilute the adhesive. Apply an even coat to the entire backside of the material using a bristle brush or roller. We do not recommend using a pasting machine. Work the adhesive in to cover the back completely, especially near the edges.
- Book the roll. Fold each end toward the middle, pasted sides together, aligning the edges carefully so they do not dry out. Allow the panel to “relax” for 10 minutes. This booking step lets the adhesive penetrate the wallcovering, ensures a firm bond, and prevents seams from separating. Do not crease the booked material.
Out-of-Plumb Walls
Few walls are perfectly straight, so check before you hang. Measure the difference in height between your starting point and the highest point on your wall. Compensate for that difference by leaving that amount of extra material at the top of the first panel, which you will trim off at the end. If the width of your walls is out of plumb, compensate the same way.
Step-by-Step Installation
Step 1 - Position Roll #1
Carry your booked Roll #1 to the wall. Unfold the top portion and press the upper section against the wall, keeping it straight against your plumb line.
Step 2 - Set the top
Give the top portion a couple of strokes at the ceiling line to force it flat against the wall.
Step 3 - Align to the plumb line
Line up the edge of the wallcovering to your vertical plumb line.
Step 4 - Press the center
Gently press the center of the panel into place using the palm of your hand. Avoid pulling or stretching the edges while aligning it.
Step 5 - Check and smooth
Check alignment against the vertical plumb line, then smooth with downward strokes from the middle of the roll to the sides.
Step 6 - Unfold and smooth the bottom
Unfold the remainder of the panel and smooth down the bottom portion, making sure it stays aligned with the vertical plumb line and the image matches correctly. Once positioned, sweep your smoothing tool from the center outward to work out all air bubbles.
Step 7 - Overlap the next roll by 1 inch
Overlap the second roll over the first by 1 inch, matching up the pattern. Apply any additional rolls the same way, smoothing out all bubbles as you go. Caution: remove excess paste immediately with clean warm water and a moist natural sponge - do not use man-made (polyester) sponges - and dry with a clean cloth. If excess paste is not removed, permanent damage to the face of the material could result.
Step 8 - Optional: double-cut for a butt-end seam
Wallpaper and wall mural products are produced with a 1-inch overlap. If you prefer a butt-end connection, it can be double cut. Place your straight edge vertically in the center of the overlap and cut through both layers with a sharp razor blade, making long cuts without lifting the blade (a fresh-blade X-Acto knife is recommended). Peel away both pieces of excess material, clean off any paste residue with clean warm water and a moist natural sponge, and dry with a clean cloth.
Step 9 - Trim at the ceiling and baseboard
Trim at the ceiling and baseboard with a sharp razor blade, using a straightedge as a guide. If the wallpaper is larger than the width of the wall, cut along the corners or edges. Make long cuts without lifting the blade. Step back and enjoy!
Frequently Asked Questions
What is a Type II wallpaper?
Type II is a commercial-grade wallcovering rated for durability in high-traffic residential and commercial spaces. At EazzyWalls it's a paste-the-back material, produced to order and hung with a heavy-duty adhesive such as Roman ECO-888 for a permanent, hard-wearing finish. It's built to be more robust than removable peel and stick wallpaper. Learn more about our Traditional Wallpaper Materials.
What is considered traditional wallpaper?
Traditional wallpaper is any wallcovering you apply with a separate adhesive rather than a built-in peel-and-stick backing. You coat the back of the material with paste, “book” it to let the adhesive set, then hang it. EazzyWalls Traditional Type II is our version — a commercial-grade, paste-the-back wallcovering made to order and designed for a long-lasting installation. Browse our Commercial Type II Wallpaper & Wall Murals.
What type of wallpaper do professionals use?
Professional installers typically choose commercial-grade paste-the-back wallcoverings like Type II for their durability and long-term performance, especially in hotels, offices, restaurants, and other high-traffic settings. They pair it with a heavy-duty adhesive (such as Roman ECO-888) and, on glossy or difficult walls, a professional latex primer with mold and mildew inhibitors (such as Roman ECO-988). For added wear resistance in busy areas, a high-quality topcoat can be applied after installation.
How hard is it to put up traditional wallpaper?
Traditional Type II takes more preparation than peel and stick because you apply adhesive, book each panel, and hang it while wet — so we recommend hiring a professional installer for best results. That said, a careful DIYer can do it by following the steps: prepare and prime the wall, mark a straight plumb line, apply an even coat of adhesive, book the panel for ten minutes, hang from Panel #1 with a 1-inch overlap, then trim at the ceiling and baseboard. Keeping the temperature above 65°F and taking your time are the keys to a clean result. See the full Care & Maintenance Guide for after installation.
After You Finish
Once your Traditional Type II wallcovering is up, follow our guide on how to clean and care for it — approved cleaning solutions and long-term care.
Helpful Resources
- Shop Commercial Type II Wallpaper & Wall Murals
- Traditional Wallpaper Materials
- Wallpaper Calculator
- Order a Sample First
- Before You Order
- Browse All Wall Murals
- Peel and Stick Installation Guide
- FAQs
- Contact Us
Questions before you start? Our team is here to help — get in touch. Proudly made in the USA.