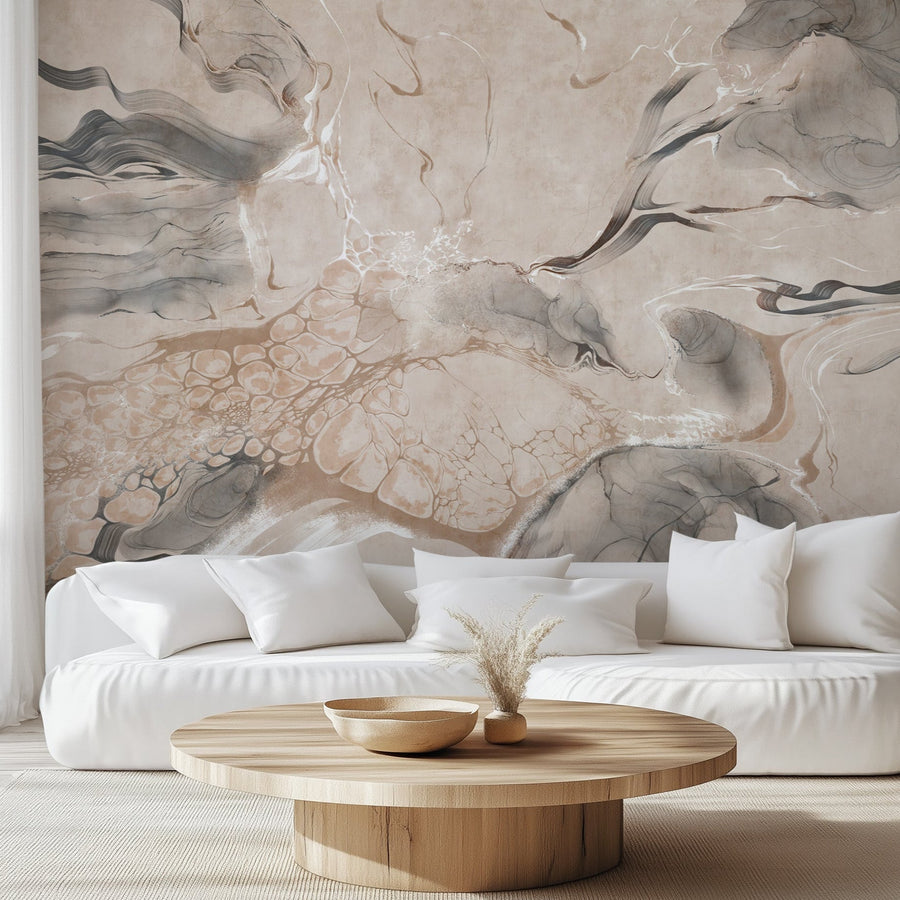
At EazzyWalls, we manufacture every wallpaper and wall mural to order in our Davie, Florida facility, and every panel comes off the printer with a 1-inch overlap already built in. Hanging wallpaper for the first time can feel like a lot to take in, so we designed the overlap to make one of the trickiest parts, matching the design from one panel to the next, far more forgiving.
Do You Overlap Wallpaper Panels?
Yes, and with EazzyWalls wallpaper, the overlap isn't optional. During production, our printing software extends the artwork half an inch past each side of the original panel boundary. That creates a shared 1-inch strip of design between neighboring panels, and that strip is exactly where one panel is meant to sit over the next.
So while our standard panels are sold by their 24-inch coverage width, each one is physically printed 25 inches wide. The overlap is already included in your order, so there is nothing extra to buy to account for it.
What Happens If You Don't Overlap?
Whether you choose Peel & Stick or Traditional Type II, skipping the overlap will throw the design out of alignment. When panels are butted edge to edge, the strip of image that was meant to be hidden under the next panel stays visible, so the same piece of the design shows up twice at every seam. On a repeating pattern, the motifs stop connecting. On a mural, the picture visibly breaks at each panel.
It's the most common cause we see behind wallpaper that's not lining up, and it's entirely avoidable.
How to Overlap Wallpaper
Every wallpaper strip is labeled with its sequence number at the bottom. Before you start, lay all of them out face up on the floor in numbered order and take a minute to see how the design connects across each overlap.
Then work from left to right. Hang roll 1 along a level vertical line rather than following the corner of the room, since walls are rarely perfectly straight. Each new panel/roll overlaps one inch over the right-hand edge of the panel before it. Match the design along the full height before pressing the seam down, and smooth from the middle of the panel outward. Once the installation is finished, the labels are trimmed off at the baseboard.
Expert Tip
Keeping a 1-inch overlap from top to bottom is only half the job. Watch the design itself as you align each panel, and make sure it matches vertically too, so motifs on both sides of the seam sit at the same height. Every panel is produced within a manufacturing tolerance of about ±0.050 inch, so on a busy design, use the 1-inch overlap as your guide and let the design match decide the final position.
The same overlap carries a wall mural from one panel to the next. A mural is printed as one composition and divided into multiple strips, so a standard 144"W x 100"H wall mural arrives as six panels, each covering 24 by 100 inches.
Do You Need to Order Extra for the Overlap?
There is no need to order extra wallpaper for the 1-inch overlap, as it is already accounted for by our printing software. Simply divide your total wall width by 24 inches and round up to the next whole panel count number. For example, a 144-inch-wide wall requires six panels, while a 152-inch-wide wall requires seven.
For height, select the standard panel length that accommodates your wall: 50, 75, 100, or 120 inches. Any excess material can be trimmed at the ceiling and baseboard. If none of our standard sizes fits your wall, please contact us. We'll be happy to customize the wallpaper to your specific measurements.
Should You Keep or Double-cut the Overlap?
This is where the wallpaper material you choose makes a difference.
1. Peel & Stick Wallpaper: Keep the Overlap
We recommend leaving the overlap in place on all of our Peel & Stick wallpaper. Think of it as a safety margin. After installation, self-adhesive wallpaper keeps acclimating to the room and can contract slightly as temperature and humidity change. Heat sources play a part too, which is why our installation guide asks you to turn down a radiator or other heater on the same wall for the first 24 hours.
If the overlap is double-cut into a butt-end seam, nothing is left to absorb that contraction. As the panels settle, the edges can pull apart and leave a visible gap of bare wall between them. With the overlap intact, the panels still share material after they settle, so the seam stays closed and the design stays aligned.
Expert Tip
Don't stretch Peel & Stick wallpaper to make the overlap meet. Pulling on the panel while you line it up can distort the material, and a stretched panel throws the design out of alignment along the seam. If the design doesn't match, peel the panel back gently and reposition it instead of pulling it into place.
2. Traditional Type II Wallpaper: Double-Cut or Keep
Our Traditional Type II wallcovering is installed with paste and hung with the same 1-inch overlap. Unlike Peel & Stick, paste-installed traditional wallpaper isn't prone to shrinking once the paste has dried. That's why professional installers usually remove the overlap with a double cut, creating a flush butt-end seam. Keeping the overlap as it is also an option.
To double-cut wallpaper overlap, the installer holds a straight edge vertically through the center of the overlap and cuts through both layers in one long stroke with a fresh, sharp blade. They then peel away the waste strip from the top panel, lift its edge to remove the strip underneath, and smooth the seam closed. Because one cut creates both edges, they meet exactly. Light, even pressure matters here: a blade that scores the drywall leaves a weak line that the seam can lift along later. Any paste that reaches the face of the wallpaper should be wiped off right away with clean warm water and a natural sponge.

We recommend hiring a professional installer for Type II wallpaper material, and our Traditional Type II installation guide has the full step-by-step instructions.
A Good Wallpaper Overlap Starts with the Right Wall
A wallpaper overlap can only do its job when the panels are properly bonded to the wall. Peel & Stick wallpaper needs a smooth, clean, painted surface, and it can't be installed over textured walls, where the adhesive can't bond properly. Freshly painted walls need at least eight weeks to cure before installation. If your wall has a slight texture, choose Traditional Type II instead, since it's applied with paste and can be used on slightly textured walls.
Final Thoughts
The overlap is a small detail that does a lot of work. Hang every panel with it, keep it on Peel & Stick, and expect your installer to double-cut it on Type II, and the design will run across your wall the way it was printed. Every EazzyWalls wall mural and Peel & Stick wallpaper design ships with the overlap built in and the panels numbered in sequence order, and every design is also available in Traditional Type II. If you have a question before you start, get in touch and our team will be happy to help.